| Product tour |
First off, let's start the product. If you didn't change anything in the setup options, AVS should be in the C:\program files\AVS folder, as in :
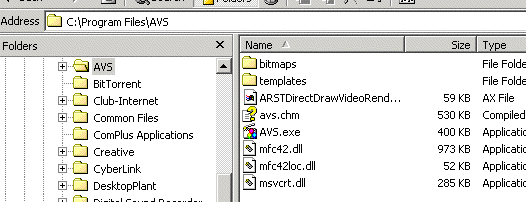
Starting AVS
Double-click on AVS.exe, and the product starts. Select the File / Open Video file from the bar menu and select some video from your hard-drive, cd/dvd-rom or network share. For the purpose of the product tour, we'll load kylie minogue.asf, as in :
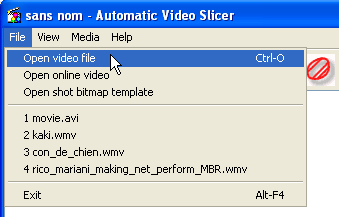
Loading a video file
The video starts playing. You can hit the space bar to pause/restart the video. If any error message appears at this moment, it's because either the file format is not compatible with AVS (can happen with some recent Apple's Quicktime video files). Follow the message indications by any mean.
You can grab the video window, resize it, undock it, dock it again. Please note the position and dock state of the video window are saved when the application is quit, so that when you start the application next time, all your components will be in the right place.
Grab the slider and drag it, see how the video updates accordingly (if the video is slow at doing this, it's probably because the video stream is really badly encoded, there is unfortunately nothing to do at this point, other then reencode the video). You can also use the arrows on the keyboard to move one frame at a time. The left arrow moves backward, the right arrow moves forward. Take a look at the status bar information, Frame=x/y and see how it updates.
If you'd like to see timecodes rather than raw frame numbers, then select the View option in the main bar menu, and choose Timecode. You can revert back to frame numbers by doing the same.
Now let's play with the shot engine. Click on the third round button on the toolbar, and the real-time processing starts.
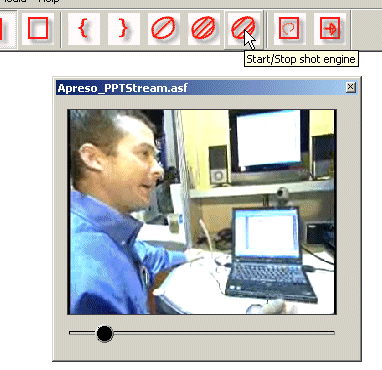
Starting the automatic shot engine
You should see quite soon the first, then the second shot in the main window, and so on. Don't expect new shots when the video is playing a scene where there is no motion and nothing particular happening. After all, scene detection is really all about scene changes like cuts and fade-ins fade-outs.
Let the process do its job for a while, then hit the space bar to pause it. Go select the Media / Play x 2 speed from the main bar menu, and hit the space bar again to resume the shot processing. You'll notice that the automatic shot engine is now doing scene detection at twice the video speed.
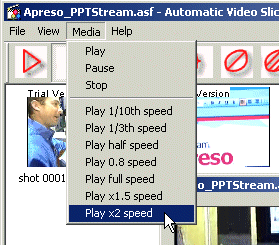
Doubling the speed of the video, and resuming
Before the video ends, let's play with the shot sampler. Hit the space bar again in order to pause everything, then click on the shot settings button on the toolbar :
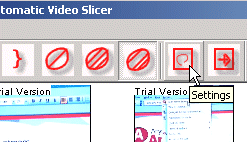
Showing the shot settings dialog
The following dialog box appears, change the shot sampler option so that one shot will be created every 3 seconds :
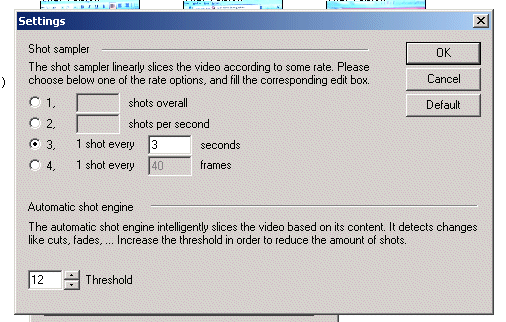
Changing the shot sampler option
Then click on the shot sampler button on the toolbar (that's the second round button) :
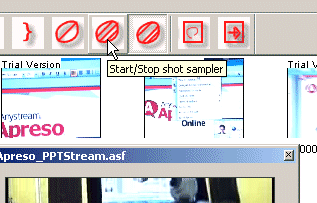
Starting the shot sampler
Please note you could also have changed the position of the video, with the slider in the video window. Let the shot sampler do its job and check out whether one shot is indeed extracted and created every 3 seconds.
Hit the space bar again, and take a snapshot of the current video frame by clicking the first button. Doing so just shows that shots can be manually added. To do that, click the first round button :
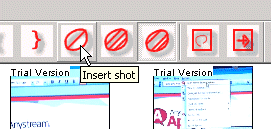
Taking a snapshot manually
Enough for engines. Before we create web thumbnails, let's use some of the shot functions. Deleting a shot is easy. Select it, and either hit Delete on the keyboard, or right-click and choose Delete Shot(s). The confirm box asks to commit, and as you can see you can check a box to avoid this box to appear again :
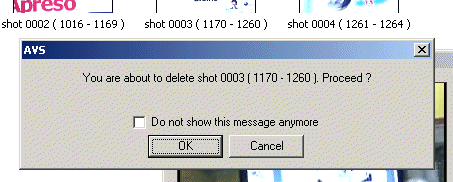
Deleting a shot
Merging shots is just as easy. Select two or more shots, then right-click and choose Merge. Among shot features is the obvious navigation in the video. Just double-click on a shot, and the video window updates to reflect the shot. You can hit the space bar, or right-click and select Play to play the video from this point.
Now let's create a couple of web thumbnails. Click the last button on the right of the toolbar :
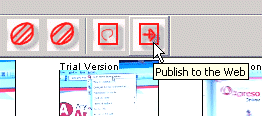
Creating a web thumbnail
In the publish to the web dialog box, click the browse button on the right of the target edit box, select a folder, and type a filename, for instance o.html :
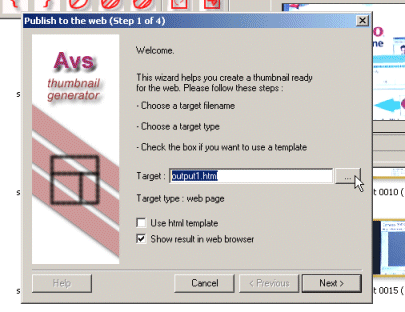
Choosing a target for the web thumbnail
And click Next four times (we use the default options). Now the generation starts. You can see from the progress bar in the status bar of the main window as the generation goes on :

Generating the thumbnail
When the generation completes, the thumbnail opens in your web browser :
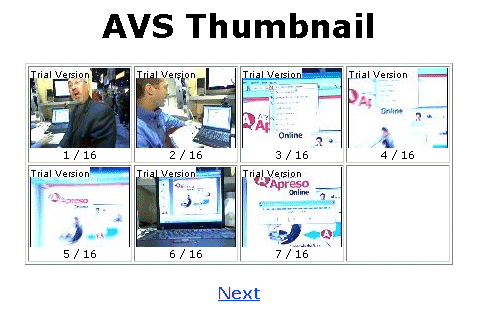
Watching the thumbnail
So let's change the thumbnail things a bit. Go click the Publish to the web button again. Select the appropriate option page by clicking as many times on Next as necessary and try changing the following :
- let's put a dynamic title, for instance :
Thumbnail 1 ($(COUNT) shots) - let's add table borders, Edge width =
2 - Let's change the shot caption, for instance
$(TIMECODEIN) / $(TIMECODEOUT) - Let's change the size of the shots, new width =
200, new height =160 - Finally check the box
Stretch to fit
Click Finish on the last page, and the thumbnail gets generated again. When finished, the thumbnail looks like this :
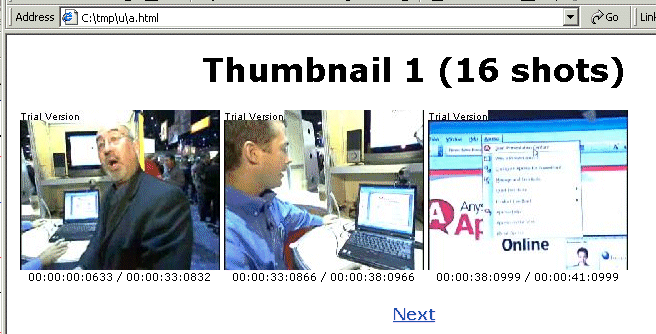
Generating the thumbnail again, with some personalization
This ends the product tour. Please note that keywords and templates allow much more personalization than what we have just demoed here.